Tana is a brand-new tool for thought that claims to put a stop to context-switching. It enables you to begin by entering data and then readily find it using searches rather than figuring out where to place it before you write it.
Benefitting from both database-based note-taking like Notion and block-based note-taking like Roam Research and Obsidian, Tana perfectly balances spontaneous and structured data. It is performing so admirably that it attracted many Personal Knowledge Management experts in a short amount of time.
The core of Tana includes powerful features such as fields, supertags, live queries, and views, which enable users to create extremely complex workflows without having to install any further plugins.
In this tutorial, you will learn how to manage your tasks with Tana so you can increase your productivity and remove any unnecessary friction from your daily workflow.
Primer on Tana
First, you need to log in to Tana. Before we get started, let’s have a quick look at some of the core design principles that govern the way Tana works. It will be much easier to design a task management system with Tana once you understand these ideas.
Workspace. Your private workspace is located at the top of your sidebar. This is your exclusive workplace, which no one else may use. But you can also use Tana in collaboration with other people. Each workspace allows you to manage access rights, add tags specifically for that workspace, and decide whether or not to accept tags from other workspaces. There is a library specific to each workspace, and you can export nearby structures for the entire workspace.
Nodes. Tana’s nodes are similar to Roam’s blocks. They make up the core of Tana’s network-based structure and outliner functionality.
Supertag. Tana’s superpower is called a supertag. By letting a tag contain more data pieces, they elevate a basic tag to a higher level. You can specify the attributes of a supertag or add nodes to it, and all instances where you use a specific supertag will utilize these values as default metadata or schema.
Fields. In Tana, fields are similar to properties in Notion. These fields can be configured any way you like, and if you turn a tag into a supertag, they will be accessible to you whenever you’re ready to fill them in.
Inheritance. Tana’s inheritance feature enables you to create a supertag that inherits the fields of another supertag while maintaining its own distinctive fields. It may sound complex, so let’s use an example. For instance, the inheritance feature can be used with related tags like “person” and “customer”. Because a customer is a person, the fields you create for the person’s supertag can be inherited by the customer’s supertag.
Emergence. When both supertags are used in the same node, Tana merges the fields you set up for each supertag. This feature is called “emergence”. The fields from the “task” supertag and the “work” supertag will both emerge underneath the node, allowing you to capture those fields in one note.
As you can see, Tana is an effective task management tool because it combines the two complex realms of databases and bidirectional connections. Though it’s useful to have an overall idea of how Tana works, you don’t need to fully understand these principles to start managing your tasks with Tana. Next, I’ll share a basic approach to get you started.
How to manage your own tasks with Tana
With Tana, managing your own tasks is easy. Simply create your own “Tasks and Projects” database, choose how to automate your days using a template, and handle your accumulated tasks at the end of the day.
Step 1. Setup up a “Tasks and Projects” database.
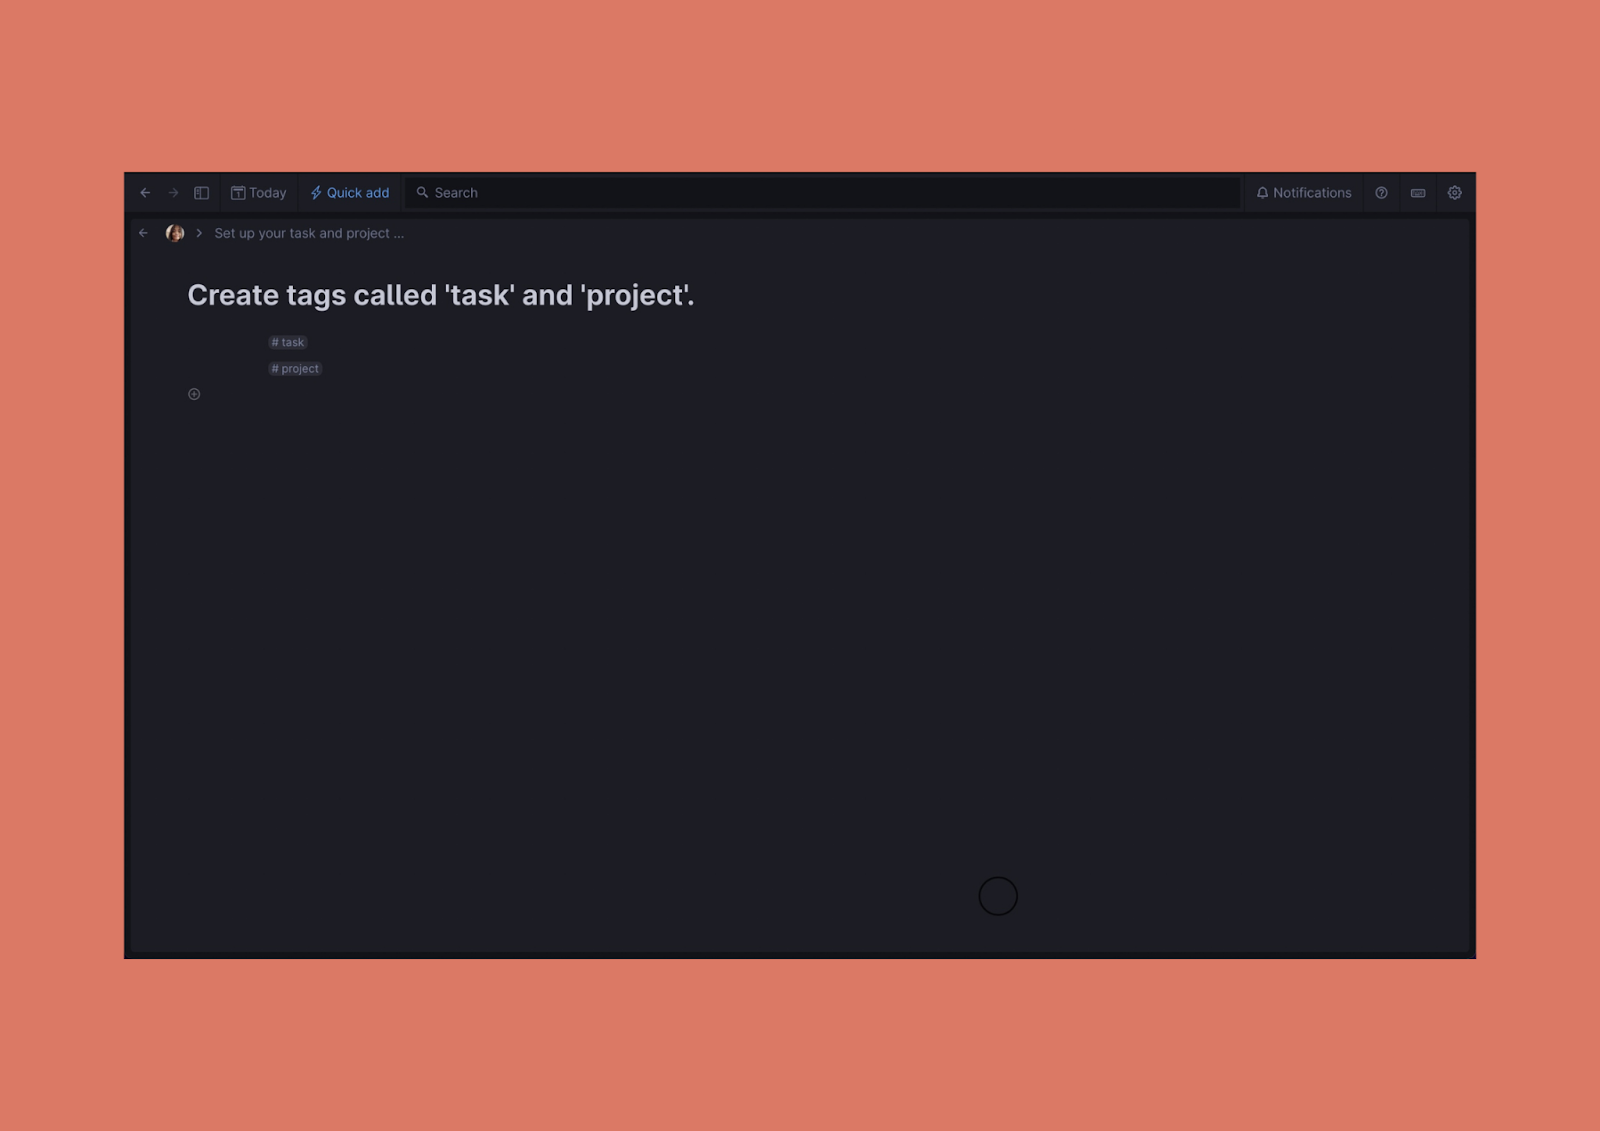
Create tags called “task” and “project”.
To make the tag “task” a supertag, configure it. Include the following fields in your “task” supertag:
- “Do Date” as a date field
- “Due Date” a date field
- “Status” as a fixed options field (“To Do”, “Doing”, and “Done” options)
- “Related Project” as an instance field setting #project as the source supertag
Then, you need to also make the tag “project” a supertag by configuring it. Fill out the following fields in your “project” supertag as needed:
- “Due Date” as a date field
- “Status” as a fixed options field (“To Do”, “Doing”, and “Done” options)
- “Tasks” as a search node (type in #task and make a field called “Related Project” connected into the task database and set the value as PARENT)
Create search nodes for your task and project databases. Enter #task for the task database and #project for the project. Both databases can be viewed as cards and grouped based on status. Give them whatever names you like, then pin them both to your sidebar.
Step 2. Decide what your day will look like by automating your days using a template.
If your private workspace doesn’t already have a “day” tag, create one. Make your “day” tag become a supertag by configuring it. Include the following fields in your “task” supertag:
- Agenda: you can create a reference of the tasks you want to do for a particular day in this section. Choose tasks on your task database.
- Time Log: you can do your interstitial journaling here.
- Create a ‘time log’ supertag with fields like Start Time, End Time, Task as a dynamic options field (create a search node on it and type in #task and NOT DONE), and Notes.
- Use the ‘build title from fields’ feature under the advanced section to automatically set the name of your time logs and type in ‘${Task}: ${Start Time} – ${End Time}’ in the title expression field.
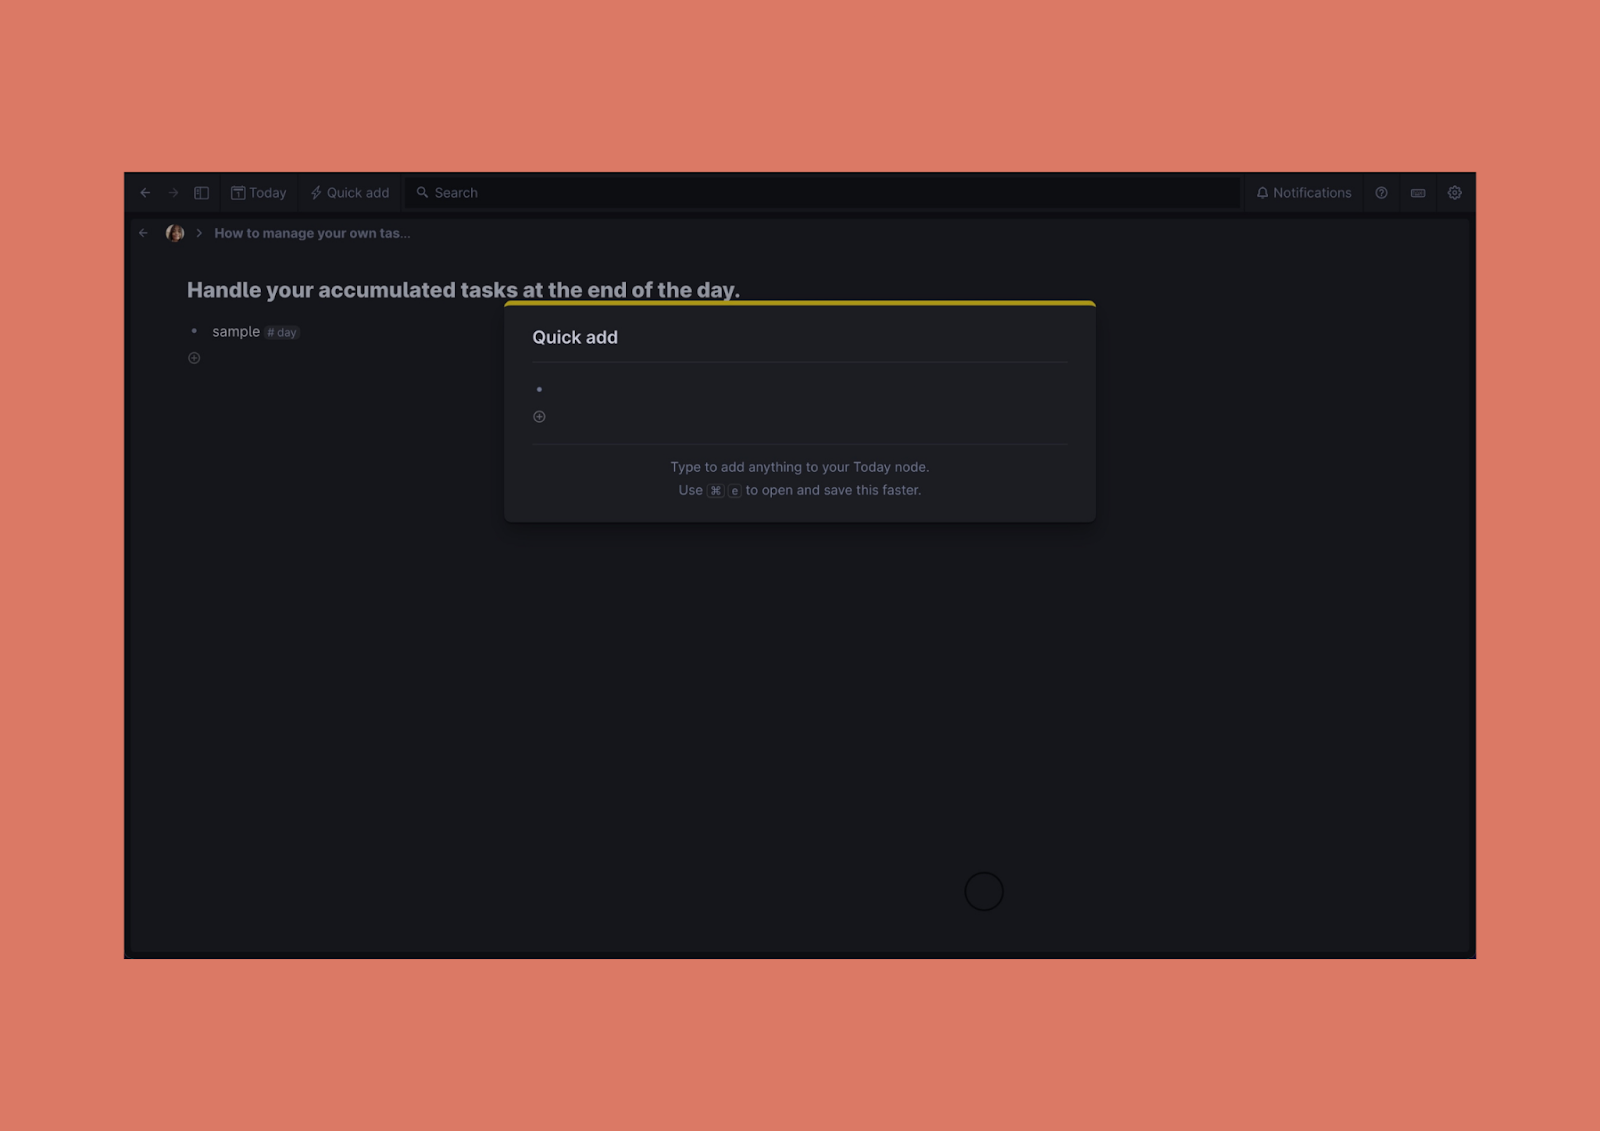
Step 3. Handle your accumulated tasks at the end of the day.
You can use Tana’s “Quick Add” feature if you enjoy journaling and writing down your thoughts as they come to you.
However, I highly recommend the practice of interstitial journaling. It’s the most straightforward method to incorporate note-taking, tasks, and time tracking, and it works great with Tana.
To manage the tasks you accumulated through interstitial journaling, all you need is a simple habit. Just add a search node that looks for tasks that were created within the previous 24 hours, and go through these tasks at the end of each day.
And you’re done! This is a simple three-step process to set up a task management system in Tana. It enables you to incorporate both your planned and spontaneous ideas throughout the day. Have fun with Tana, and feel free to join the Ness Labs Learning Community to discuss Tana and other tools for thought.