While life is unpredictable, most people have routines they either try to create or want to manage better. Even if that’s not the case, work often involves recurring tasks, where we waste lots of time performing the same action over and over again. This is why the launch of a templating system in Roam is so exciting: it allows users to automate their workflows and free themselves from mindless repetitive tasks to focus on actual thinking. Let’s see how you can use templates in Roam.
But first, what are templates? To put it simply, they are little snippets you can then re-use by typing a shortcut, rather than re-typing the whole snippet. These snippets can contain anything you can usually insert in a block: links to pages, to-do lists, timers, word counters, formulas, and of course, embedded blocks. Roam templates are incredible time savers.
How to create a Roam template
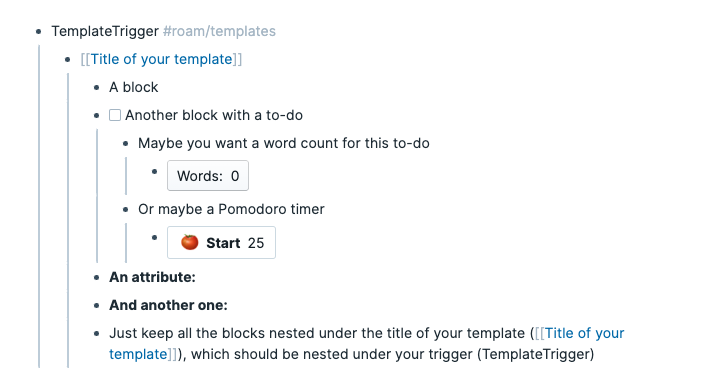
You can create a new template from absolutely anywhere in Roam. To do so, use the following format:
• TemplateTrigger #roam/templates
     • [[Title of your template]]
            • Content of your template
The template trigger is the shortcut you will type to insert your template in the future. The title of your template will be the very first block to be inserted when you call the template trigger. All of the content of your template will be automatically nested underneath.
What could you create templates for? You could have a template for your exercise routine, for your book notes, for mental models you want to be able to quickly use while working, for a gardening checklist…
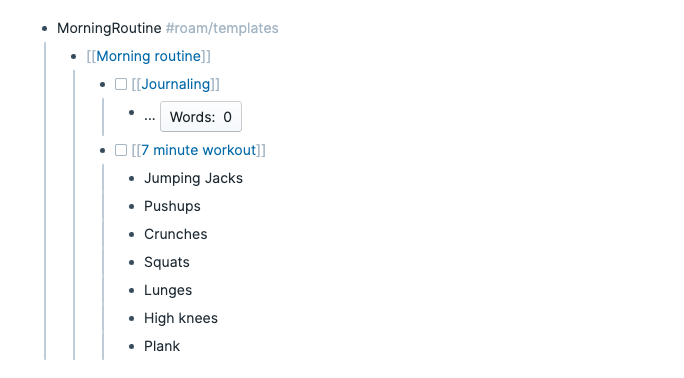
Anything you need to use quite often and is tedious to re-create from scratch can make for a good template. For instance, here’s one for a morning routine:
Go ahead and create a first template using the format above before moving onto the next section. Remember: you can create templates from anywhere in Roam, as long as you add #roam/templates after the trigger. For the purpose of this tutorial, feel free to create a template in today’s daily page. When you’re ready, keep reading to learn how to trigger any template.
How to use templates to improve your workflow
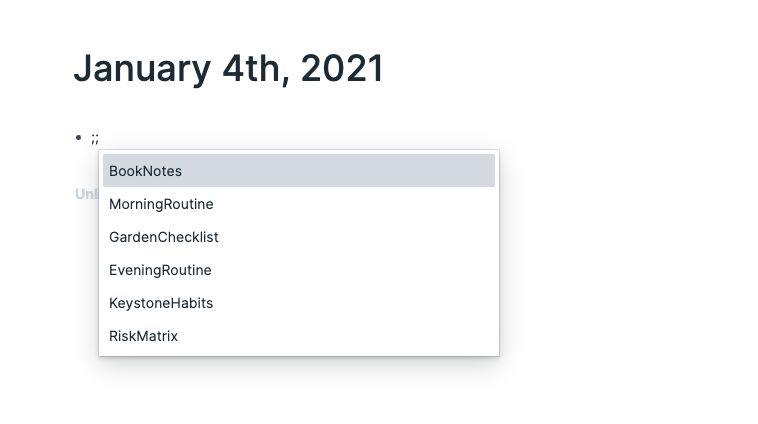
You have now created your first template. To insert it wherever you want, you just need to type ;; (two semicolons) followed by the first letters of your trigger until you see it appear in the dropdown list.
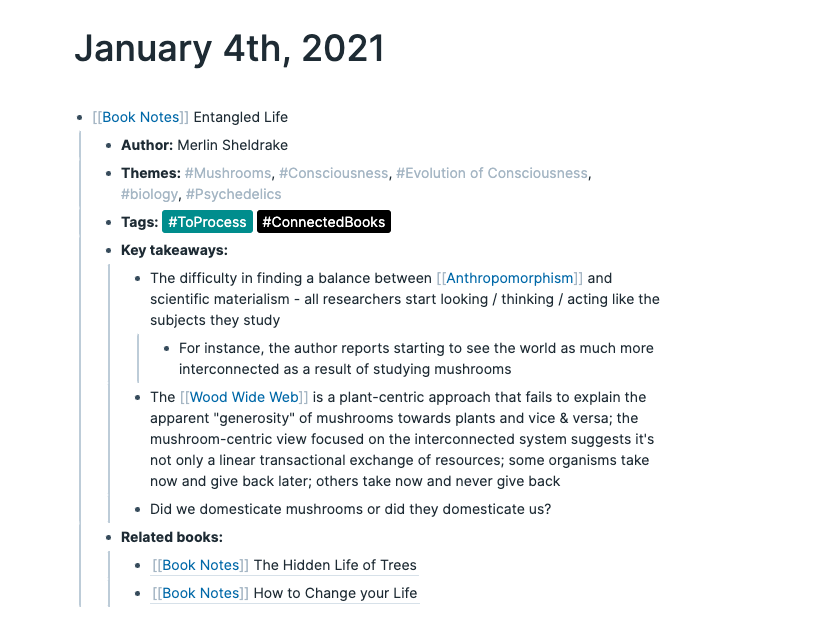
Select your trigger, press enter, and voila! Your template is automatically inserted. As you can see, it includes all of the blocks we created in the first step. In this specific example, we have all the metadata we want to add to our Roam database whenever we read an interesting book.
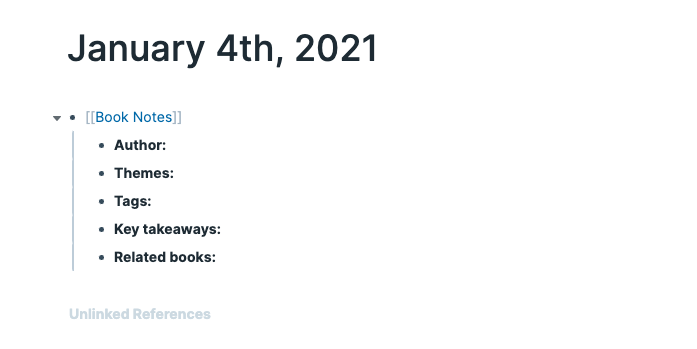
Just fill the template as you would any other blocks in Roam. The only difference is that you didn’t have to manually re-type the template itself before filling it in.
You’re done with the basics of using templates in Roam! I have added a few caveats below if you want to learn more about how templates work, and maybe tweak your workflow based on your own needs.
Best practice when working with Roam templates
Roam is extremely flexible. As such, there are other ways you could format your templates and I made a few choices in this tutorial which I want to highlight.
First, you don’t technically need to format your triggers without a space between the words. The trigger could be Morning Routine or morning routine. I prefer MorningRoutine (Pascal Case) or morningRoutine (Camel Case) because using a naming convention makes it clearer this is a trigger or shortcut and that it doesn’t have to be the exact same as the title of the template itself.
For instance, you could have a template titled “Things I always forget to do before leaving the house” and type tiaf (for “things I always forget”) as the trigger to insert your template.
Second, you could just nest all of the content of your template directly under the trigger, without adding a title for your trigger first. You would still be able to insert the template without any issue. The challenge comes from searching through your notes later.
Adding a title allows you to have a dedicated page for all the entries using this template, so you can filter and sort through them later. Without a proper title and dedicated page, content created using templates becomes harder to work with in the future.
Finally, I kept the examples above pretty simple as I couldn’t find a beginner guide, but please do experiment! Not everything needs to be turned into a Roam template, but they can dramatically speed up your workflow. If you want to learn more about Roam, browse the Roam knowledge base.
P.S. Want to learn how to make the most of Roam? Join Roam Essentials, a short course to master 20% of the features that will unlock 80% of Roam’s power.