Since I started using it a few months ago, Roam has become an integral part of my workflow. I use it for interstitial journaling, to outline articles, and in general to seed my mind garden. If, like me, you spend a lot of time inside of Roam, you may want to add some productivity shortcuts to your workflow. If you’ve never used Roam before, start with my Roam tutorial for beginners first.
1. Add Roam as a shortcut to your dock or taskbar
It only takes a few seconds to add a shortcut to Roam to your dock (on MacOS) or your taskbar (on Windows), and it will make Roam more accessible by letting you open it in a new window in one click, then switch to it using your keyboard instead of looking for that pesky tab hidden somewhere in your browser. I’ll explain the process for Chrome but I assume it’s similar for other browsers.
MacOS: go Roam in a new tab, then go to “More tools” (by clicking on the three vertical dots in the top right corner of the window), and then “Create shortcut”. Name it “Roam” and check the box that says “Open in a new window.” Click “Create” and voilà, you got yourself a nice Roam shortcut in your Dock. Click on it and you’ll see it open in a new window.
Windows: The process is similar, there’s just one more step. Go to More tools > Create shortcut, then name it “Roam”, check the box so it opens in a new window, click “Create” and you will see the shortcut appear on your desktop. Drag the shortcut to your taskbar.

2. Automatically add the source to web snippets
If you find yourself copying and pasting lots of excerpts and snippets from around the web into Roam, consider using this little Roam extension I built to automatically copy not only the text, but the title of the page and its URL into your clipboard, nicely formatted in markdown so you only need to page it into a new block in Roam.
3. Change the appearance of Roam
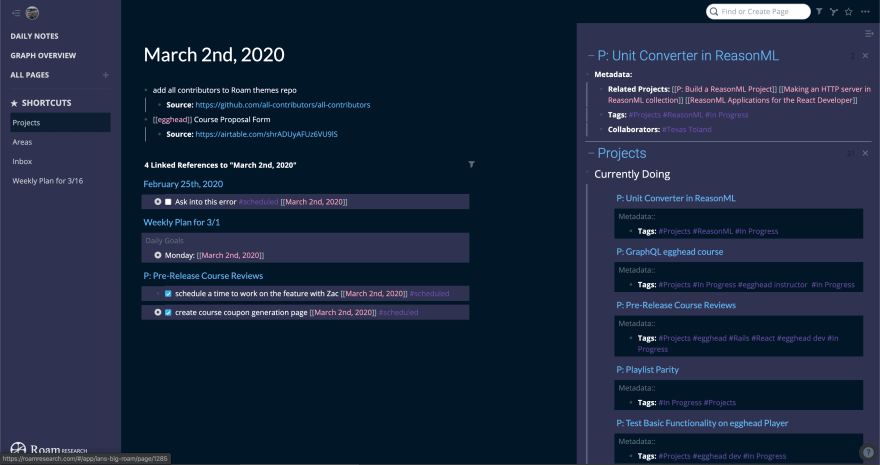
Yes, you can use custom themes for Roam Research! First, install the Stylus extension (Chrome here and Firefox here), which allows you to override the CSS styles of specific websites. Then, copy and paste the CSS of your preferred theme from this GitHub repository. If you’re familiar with CSS, you could even tweak the existing themes or code your own.
4. Add your hub pages to the navigation menu
Roam is incredibly flexible and doesn’t have any hierarchy between pages, but sometimes it’s good to have a “hub” you can go back to for specific tasks or content you find yourself using frequently.
For instance, I have a hub page called [[to read]] for stuff I want to read later. In order to avoid disturbing my workflow, I just tag whatever I stumble upon that looks interesting but not relevant to the task at hand with [[to read]], and it shows up in the linked references on that page. Because I have added this page to my menu, it’s easy to go back to and pick something interesting to read whenever I have some down time.
To do this, just go to the page you want to add to your menu, and click on the little star icon in the top right corner of the window. You’ll see the page appear in the left menu.
5. See mentions of a page directly in the current page
If you already have a bunch of notes open and don’t want to navigate away from what you’re currently writing, you can bring in references to a specific page directly into the current page. To do this, type: {{mentions: [[Title of the target page]]}} — you will see the same “linked/unlinked” reference list you usually see at the bottom of each page appear in the current block, right where you already are.
If you can’t remember the exact syntax, you can always type / and scroll down to “Page Mentions.” You will also see there that this trick also works with block mentions.
6. Create soft line breaks
I’m a huge fan of the bullet points system, because it allows you to nest content in a flexible way and to easily access the content of any bullet point by targeting various levels of the hierarchy. However, sometimes it makes no sense to consider several paragraphs from the very same text as different blocks, and I want them to all be under the same bullet point.
To achieve this, you just need to press SHIFT + ENTER instead of just ENTER. This will create a soft line break instead of a new bullet point.
7. Make the most of shortcuts
You can find many shortcuts in the help menu in the bottom right corner of Roam. It may feel unnatural at first if you’re not someone who tends to use your keyboard a lot when using applications, but it’s definitely worth building the muscle memory to create a faster workflow.
- CMD+B for bold, CMD+I for italic, CMD+H for highlights
- CMD+ATL+1,2,3 (choose a number) to create H1, H2, or H3 titles
- Use TAB to indent and SHIFT TAB to unindent
- CMD+SHIFT+UP or CMD+SHIFT+DOWN to move the current block up or down
- /ENTER to create a to-do checkbox
- CMD+SHIFT+D to go to your daily notes
- CMD+U and start typing to activate the search bar (great to quickly access or create pages)
If you want to learn more shortcuts for Roam, I highly recommend you watch these two videos: part 1 / part 2.
8. Use quick capture on mobile
Roam doesn’t have a proper, fully fledged experience on mobile yet, but you can already save stuff you stumble upon when on your phone to your database to come back to it later. Just open Roam on your mobile, and you will see a “Quick capture” screen. Anything you add here will be tagged #Quick Capture so you can easily go back to it once on desktop and tag accordingly.
You probably already know how to do this, but you can also add Roam as a shortcut on your homescreen. On iOS, go to the share button at the bottom center of the screen when in Safari. Then, on the second row of options, tap on “Add to Home Screen.” On Android, you just need to click on “Add to homescreen” in the Chrome menu.
9. Open two notes side by side
I know I could have mentioned this in the shortcuts section, but this is one people who are new to Roam often miss and can easily double your productivity. Use SHIFT+CLICK or CTRL+SHIFT+O on a link to open it in a parallel panel, side-by-side with the current page.
You can open as many pages as you want in this panel, and shift between them by collapsing them. The best part? Pages you open in the panel are fully editable, so it’s not only useful to compare notes, it’s a great trick to edit two pages in parallel, or drag content from a page to another.
10. Filter linked and unlinked pages to surface relevant content
Once you start having lots of content, it can be tedious to scroll through all of the links and unlinked references at the bottom of a page. Instead, you can use the filtering function to surface exactly what is relevant to you right now.

That’s it! There are many, many other productivity tricks you can use to work faster with Roam, but these should already help you be much more efficient.
P.S. Want to learn how to make the most of Roam? Join Roam Essentials, a short course to master 20% of the features that will unlock 80% of Roam’s power.